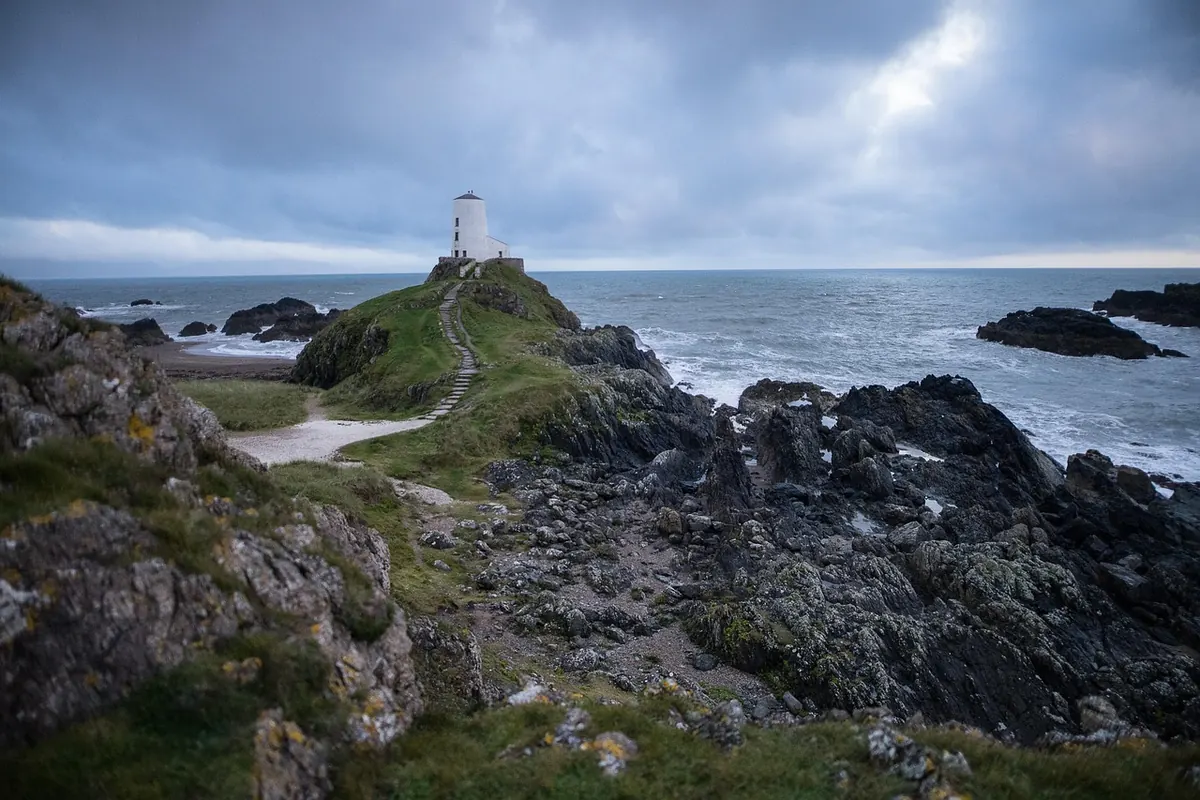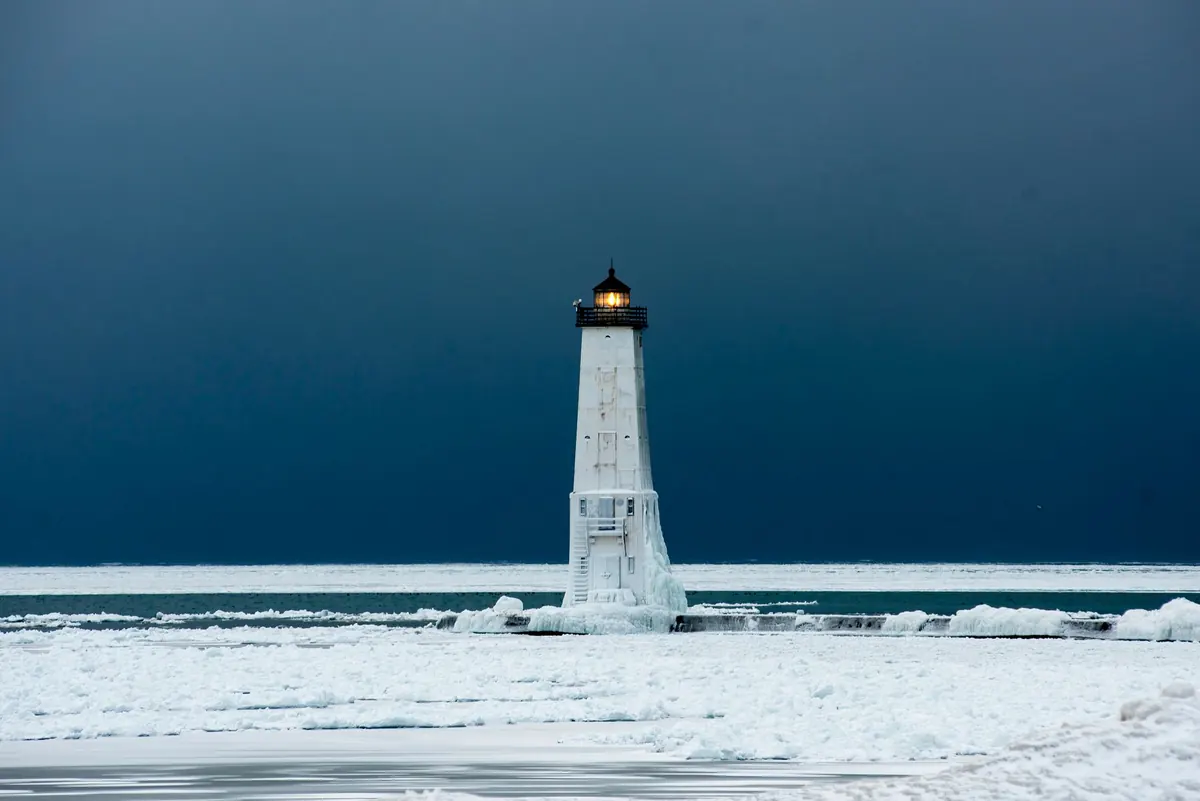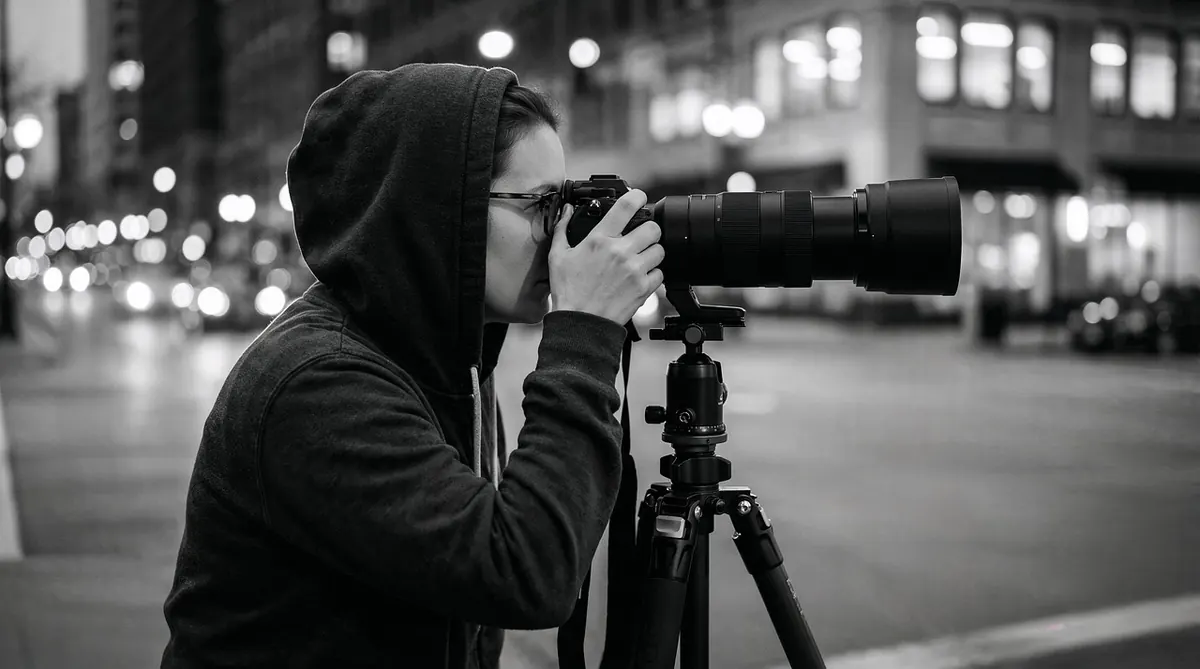
Beacons are generous subjects. A lighthouse lamp turning against a darkening sky, a memorial beacon lit on a hilltop, a harbour marker picked out by a torch beam — the picture is practically there already. The catch is that they look their best exactly when a camera finds life hardest: low light, a small intensely bright light source, and often weather doing its best to hurry you along. None of that requires expensive kit. It requires a few sensible purchases and a handful of settings you can dial in and then forget about, so your attention stays on the light.
Choosing a camera you will actually carry
Ignore megapixel counts. For this kind of work you want three things: manual exposure control, the ability to save RAW files, and a tripod socket. A Bulb mode is a bonus rather than a dealbreaker, and high-ISO performance matters far more than resolution once the sun has gone.
Advanced compacts and bridge cameras from the past decade can do all of this and often cost very little second-hand. Entry-level DSLRs and mirrorless bodies are the obvious step up, mainly because you can change lenses and their sensors handle noise better. Starting with a phone? Look for a manual or pro mode that allows exposures of several seconds. You can make perfectly good blue-hour images that way, though you will be fighting automatic processing and the lack of a proper tripod mount.
The best camera here is the one you are willing to carry in the cold, in the dark, with the wind getting up. A heavy kit that stays in the car helps nobody.
Tripods, releases and the small kit that saves a shoot
A flimsy tripod is worse than none, because you will trust it. Spend what you can on something rigid and tall enough that you are not crouching all evening.
- Tripod: aluminium if the budget is tight, carbon if you have to walk far. Avoid extending the centre column, and hang your bag from the hook for ballast.
- Head: a ball head is quick to adjust; a three-way head makes it easier to level the horizon precisely.
- Release: a cable release or intervalometer, or the two-second self-timer if you have neither.
- Batteries: carry spares in an inside pocket, because cold drains them quickly.
- Cloths and hood: two microfibre cloths, one for spray and one kept dry. A lens hood keeps stray light and rain off the front element.
- Torch: a head torch with a red mode, so you can read your settings without wrecking your night vision.
Dusk: settings that work almost every time
The twenty minutes after sunset and the twenty before full dark — blue hour — is the easiest window. Set the camera to manual, choose ISO 100 or 200 and an aperture of f/8, then start at around 1/60 second. Check the histogram after each frame and adjust the shutter speed. Keep the brightest part of the sky from clipping and let the beacon lamp burn out if it must.
Use the timer or a release, and switch off image stabilisation if your camera advises it when tripod-mounted. Focus manually using magnified live view on the beacon itself, then leave the focus alone.
When the lamp is far brighter than the sky
Take two frames, one exposed for the sky and one for the lamp, and blend them later. Or simply accept a white lamp; it is honest, and usually looks better than a lamp tamed into greyness.
Night: long exposures and the turning beam
Once it is properly dark you are in Bulb territory: ISO 400 to 800, f/5.6 to f/8, exposures of ten to thirty seconds. Think about the lamp's rotation. A short exposure freezes the beam, a longer one draws it into a soft arc, so shoot both and compare. Check whether the moon is up — moonlight lifts the sea and the stonework, and can save a foreground that would otherwise be solid black.
Foregrounds still go dark, so bring a torch and paint light across the ground or a wall in short sweeps, keeping the beam out of the lens. Long-exposure noise reduction doubles the length of every shot; that is normal, not a fault. And remember the scene is changing constantly, so keep checking the frame rather than trusting settings that worked ten minutes ago.
Wind, rain and salt spray
Poor weather is often the reason a beacon looks dramatic, so it pays to be equipped rather than put off. A rain cover, or even a clear plastic bag over the camera, keeps the worst off, and a dry bag with a sachet of silica gel protects everything on the walk back. Change lenses indoors or in the car, never on an exposed headland. Wipe salt spray off with a damp cloth as soon as you reasonably can, and give the kit a proper clean at home.
Wind is the sneaky one. Vibration is invisible in the viewfinder and ruinous in the file. Keep the legs short, weight the tripod, stand upwind to shelter it with your body, and raise the ISO rather than reaching for a longer exposure than the conditions allow.
If the wind is strong enough to worry your tripod, it is strong enough to worry you. Shoot from somewhere safer.
Framing, and not packing up too early
Keep the horizon level — it is the most common fault in beacon photographs. Place the beacon off-centre and give the beam room to travel across the frame. Look for foreground interest: a path, a railing, wet rocks, a pool of light on the grass. Move your feet, because a few paces left or right changes the whole composition. Then stay put. The best frame usually arrives ten minutes after the one that felt like the last chance, especially when cloud moves in and the lamp starts catching it.
A first outing, start to finish
Choose somewhere you already know, so you are not learning the ground in the dark, and arrive about forty minutes before sunset.
- Check access, tide times and any local restrictions, and tell someone where you are going and when you expect to be back.
- Pack the tripod, release, spare batteries, cloths, torch and something windproof.
- Set up early, level the tripod, then take a test frame at high ISO to check focus and composition.
- Drop to your working settings and shoot steadily through blue hour, checking the histogram between frames.
- Stay for the dark if the location is safe, and try a few long exposures of the turning beam.
- Dry and clean everything at home, and note down the settings that worked.
Beacons are patient subjects, but the weather and the tide are not. Photograph the ones you can reach safely and legally, keep your kit simple, and the pictures will largely look after themselves.
Photo: geralt / Pixabay