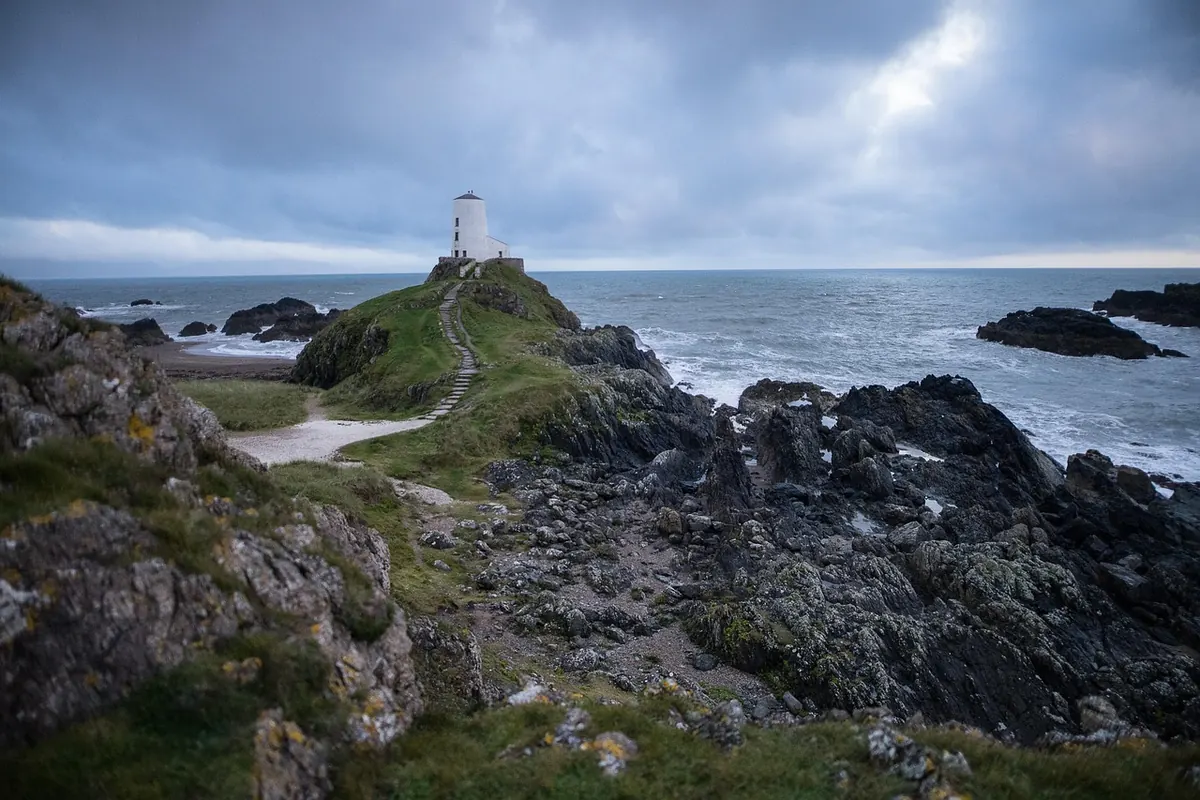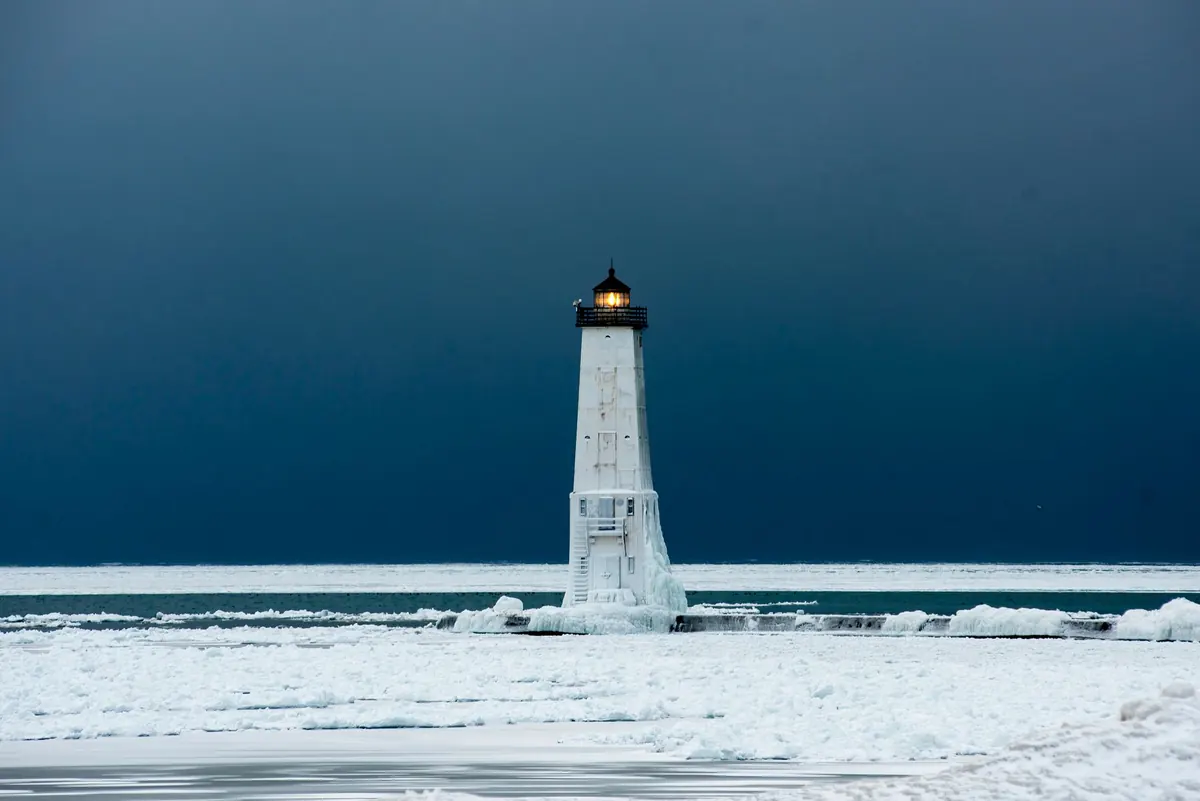
There is a particular quiet at a lighthouse in January. The car park is empty, the wind is doing its best to take your hat, and the lamp keeps turning regardless. Winter strips lighthouse photography back to essentials: light, weather and your own two feet. Get those right and the season that keeps most photographers indoors becomes the one that gives you pictures nobody else has.
Winter light does half the work
The sun sits low all day, so golden hour is not an hour. In December it can run from early afternoon until the light fades, giving you raking side light for hours instead of a brief burst at either end of a June day.
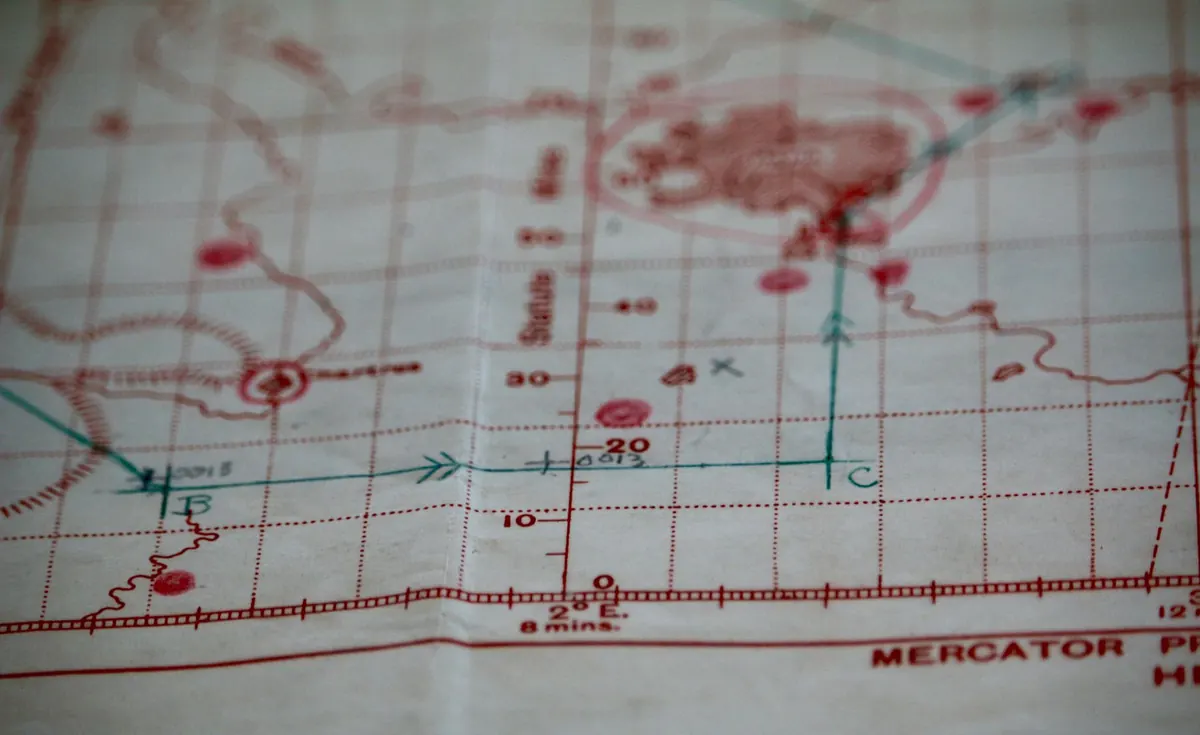
Direction matters as much as quality. Because sunrise and sunset swing south in winter, a tower that is backlit in midsummer may be side-lit or front-lit in January. Before you commit to a drive, check the sun's compass bearing for your chosen date against the tower's position — a map, a compass and thirty seconds of planning will tell you whether the seaward face is finally going to catch the light.
The other winter advantage is the dark. Real darkness arrives by late afternoon, blue hour lingers, and you can shoot stars and still be home at a sensible time.
Time it right: tides, weather and the lamp
Two clocks run a winter shoot: the tide and the forecast. Tide tables are published free by many harbour authorities and marinas, and they tell you when the water will be at its most interesting — and when it will be where you are standing. Spring tides push further up slipways and rocks; neap tides leave more foreground exposed but less drama. Wind blowing against a running tide builds short, steep seas that look far heavier than the forecast suggests.
Read the shipping forecast and any Met Office warnings for the day, and pay attention to swell period as well as height. A long-period swell can send occasional big sets into places that look calm in between.
Then there is the lighthouse itself. Lights have characters — a flash every ten seconds, a group of three, a steady beam — and that rhythm shapes what you can do. A thirty-second exposure turns the beam into a soft glow or a dotted line; a single two-second frame can catch one clean spoke of light against the sky. Many towers are now LED and dimmer than the old optics, and a few are seasonal or dark altogether, so check before travelling.
Safety first on a cold, angry coast
Winter is when the sea is at its most serious and the coast at its most slippery. No photograph is worth an incident.
- Never turn your back on the sea. Bigger sets arriving after a lull are a real pattern, not a superstition.
- Tell someone your plan: where you are going, when you expect to be back, and what your car looks like.
- Carry a headtorch with spare batteries. Winter afternoons end abruptly and cliff paths are unlit.
- Treat wet rock, algae and ice as hazards that will put you down without warning. Wear grippy soles and keep your hands free.
- Stay behind fences, and respect private land, nature reserves and roosting birds. If a gate says no, it means no.
- Check for tide cut-offs before you commit. The best viewpoint is often the one that gets surrounded first.
- Keep a phone in a dry bag and a flask in your pack. In an emergency, call 999 and ask for the coastguard.
Exposure in wind, spray and gloom
A white tower against a grey sky is a metering trap. Camera meters average everything towards mid-grey, which blows the tower out and turns the sky to mud. Spot-meter the brightest part of the tower and dial in roughly a stop of negative exposure compensation, then check the histogram and highlight warnings. If in doubt, bracket. Shoot raw so you can recover the sky later.
Technique is straightforward: base ISO, f/8 to f/11, tripod, remote release or the two-second timer, and mirror lock-up or electronic first curtain to kill vibration. Then use shutter speed as your creative control.
- 1/250 or faster freezes spray into individual droplets, suspended and sharp.
- 1/15 to 1/4 draws spray into streaks and gives the sea direction.
- 1 to 4 seconds turns wave wash into ribbons around rocks, with some drama left intact.
- 30 seconds and beyond flattens everything. Useful in calm weather, dulling in a gale.
Storm days and star nights
Chasing the spray
Keep the sun behind you or beside you. Backlit spray glows gold at either end of the day, and a low sun shining through mist can throw a rainbow across the whole headland. Protecting the front element matters more than cleaning it: a lens hood and a body angled away from the wind does more than any cloth. Wipe salt off with a clean microfibre, never with a glove, and keep your distance — if the spray is reaching you, you are standing where the next set will land.
Long exposures under the stars
Winter nights are long, clear and dark, and the bright constellations sit beautifully above a silhouetted tower. Work near the new moon for the darkest sky; a full moon lights the landscape but washes out stars.
Focus is the hard part. Set infinity in daylight and tape the focus ring, or use live view at maximum magnification on a bright star. Manual exposure of roughly 15 to 25 seconds at f/2.8 and ISO 1600–3200 with a wide lens gives round stars, though the wider the lens, the longer you can go before they trail. For star trails, take a sequence of 20 to 30 second frames and stack them; you keep control of the length and can drop any ruined by cloud or headlights.
The winter Milky Way is faint compared with summer, so build the frame around Orion, Sirius and the Pleiades instead. In the north of the country, check aurora forecasts and treat a green glow as a gift. A brief sweep of a torch across the tower can lift the foreground out of black — keep it short.
Cold-weather kit and housekeeping
Condensation is the enemy. Moving a cold camera into a warm car fogs the lens and, worse, the sensor. Let it acclimatise inside a zipped bag, and keep sachets of silica gel in the camera bag. Batteries lose capacity quickly in the cold, so carry spares in an inside pocket rather than the outer bag, and avoid breathing into the viewfinder.
For hands, liner gloves under mittens with flip-back fingers work better than one thick pair. A tripod with foam-wrapped legs means bare skin never meets frozen metal. Salt is the long-term problem: rinse and dry the tripod feet and leg locks when you get home, and clean your filters before they go back in the bag.
Plan one winter outing
Keep the first trip simple. Choose a lighthouse within an hour's drive with reliable parking and a viewpoint you can reach without scrambling. Check the tide table and forecast the night before, then again in the morning. Arrive about ninety minutes before sunset; the raking light starts almost immediately and you will have time to find a foreground before the colour goes.
Stay through blue hour. The lamp against a deep blue sky is the shot most people miss because they packed up early. If the sky is clear and the car park is safe, wait for full dark, take one star frame, then walk back with your headtorch on and the flask still warm. That is winter at a lighthouse: storms, stars and the solitude that comes free with both.
Photo: Jason Gillman / Pexels