Lighthouse spotting is one of the quietest hobbies you can take up, and one of the most rewarding. There is nothing to buy before you start and no membership to renew. You need a stretch of coast, a clear view of the sea and enough patience to stand still for twenty minutes while the light does its thing.
There is also a pleasing logic to it. Every lighthouse is trying to solve the same problem — being recognised at distance, at night, in poor weather — and each one solves it slightly differently. Learn to read those differences and you will begin to identify lights the way birdwatchers identify birds: by shape, colour, rhythm and setting.
Here is what to look at, and how to make a start.
Begin with the daymark
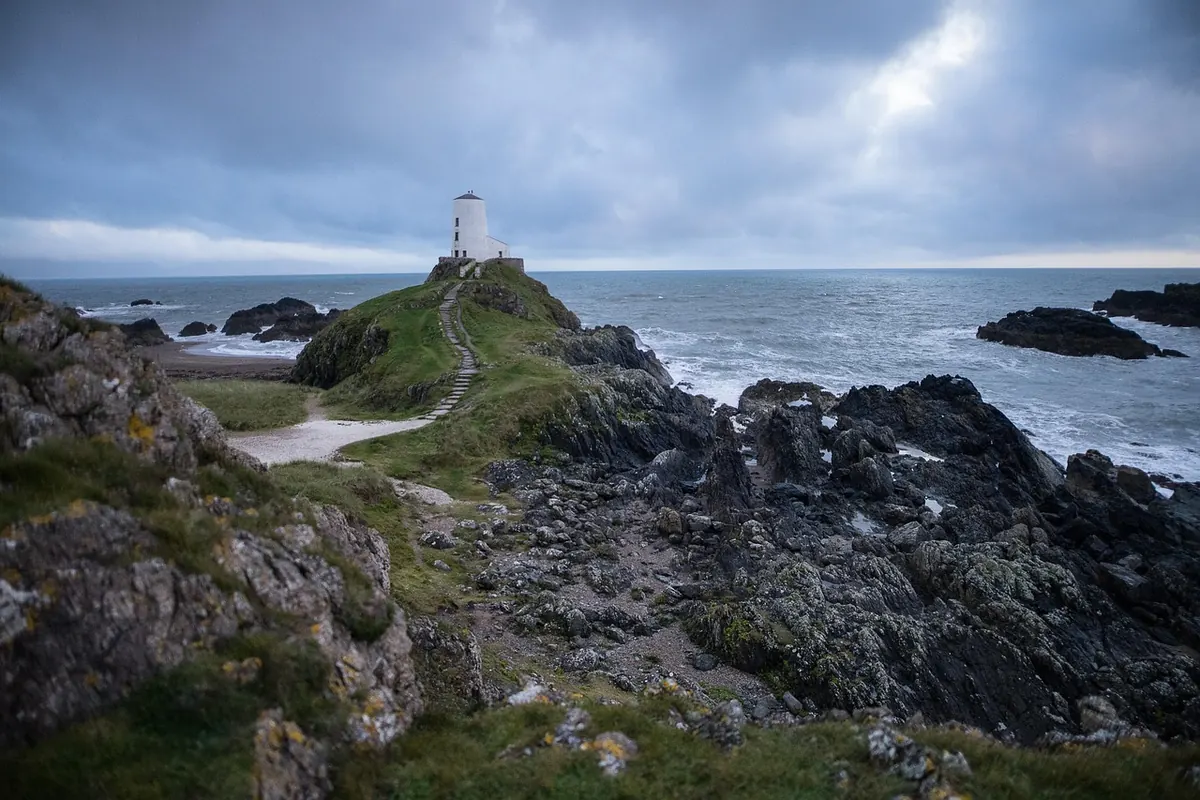
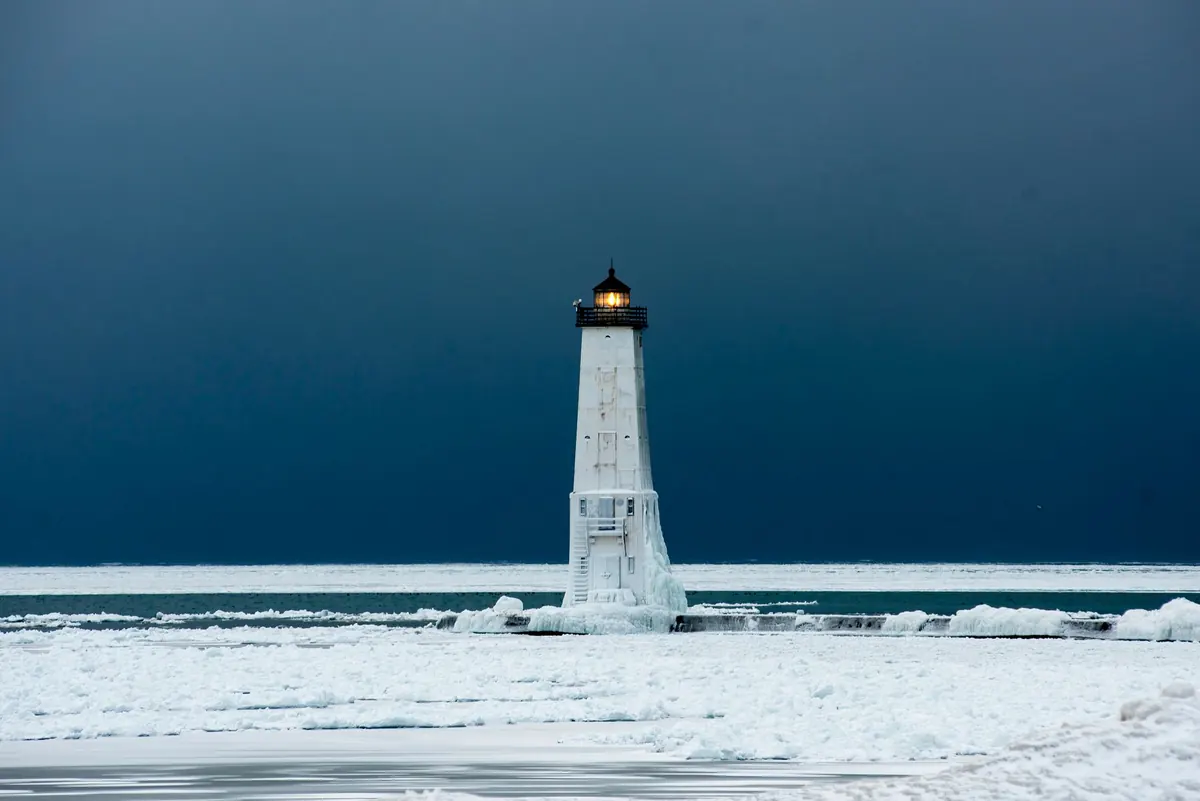
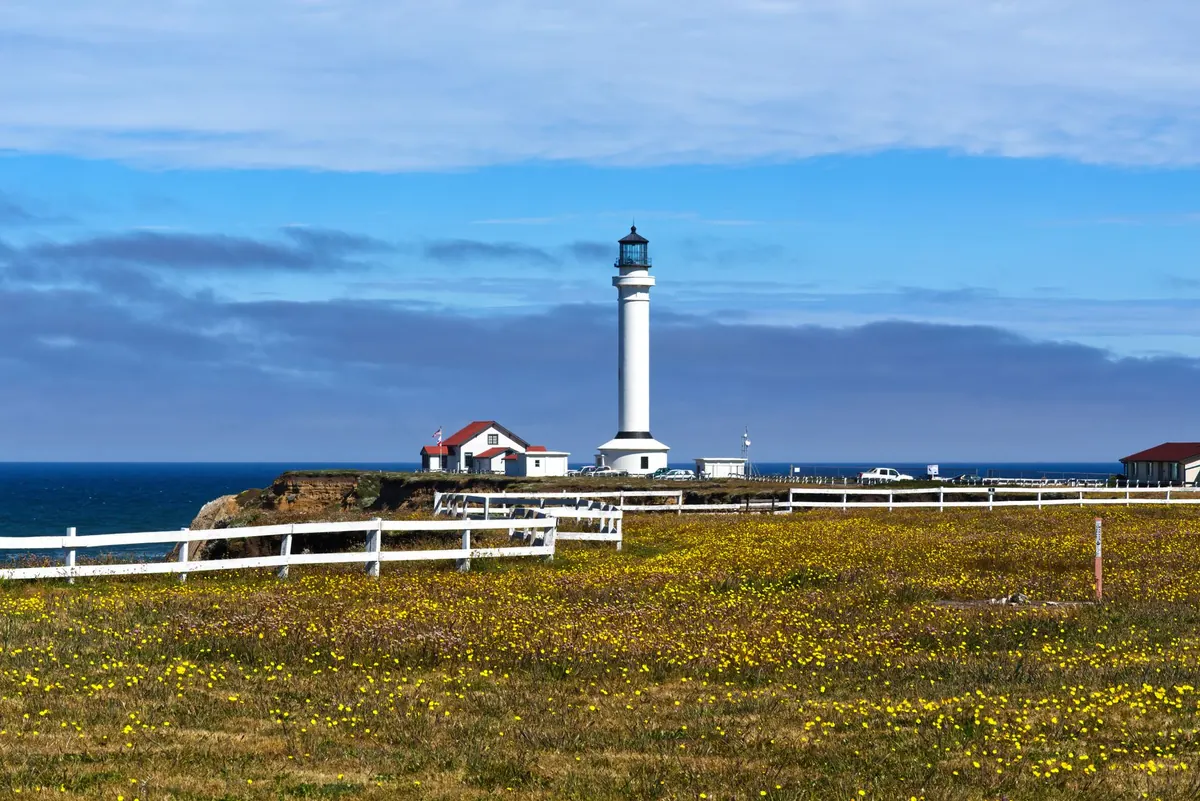
In daylight, a lighthouse announces itself through its daymark. That means the combination of painted pattern, tower shape and surrounding buildings that separates it from every other light on the coast. A round tower with red and white bands looks nothing like a squat stone tower with a black lantern, and both look different again from a small harbour light bolted to the end of a pier.
Train your eye on a handful of things at once:
- Colour and banding. How many bands, and in what order? Is the lantern painted a contrasting colour?
- Tower profile. Round, octagonal or square. Tapering, straight-sided or unusually stubby.
- Height and elevation. What matters is not the height of the tower but the height of the lamp above the sea. A short tower on a high cliff can throw its light much further than a tall tower built at sea level.
- What else is attached. A keeper's cottage, an external stair, a fog signal building, a helipad, a modern equipment cabinet.
- Setting. Headland, pier, estuary mouth, offshore rock, or the middle of a town.
Note these down in daylight. When you come back after dark, you will already know which light you are looking at, and you can concentrate on the part that really matters.
The flash is the fingerprint
At night, most lights are identified by their character: the repeating pattern of light and dark. This is the heart of spotting, and it is easier than it sounds.
There are only a few families of pattern. A fixed light shines steadily, with no dark intervals. A flashing light shows flashes that are shorter than the gaps between them. An occulting light is the reverse: a steady beam broken by short eclipses. An isophase light has equal periods of light and dark. Beyond those come the variations — group flashing, where a set number of flashes is followed by a longer pause, and quick or very quick rhythms, which often belong to harbour and channel marks rather than major landfall lights.
How to time a character
- Find a spot where the light is clearly visible and you are not being dazzled by street lamps or car headlights.
- Start a stopwatch or phone timer at the first flash of a group.
- Count the flashes in that group. Watch for the long pause, then keep counting until the next group begins.
- Stop the timer as the first flash of the second group appears. That interval is the period.
- Repeat twice to be sure. Periods are usually neat figures — five, ten, fifteen, twenty seconds — which makes mistakes easy to spot.
You will end up with something like "three white flashes every fifteen seconds". Write it down with the date, the time and the weather. That record is what turns an evening's walk into a proper sighting.
Colour, sectors and sound
White is the standard colour for major lights, because it carries furthest. Red and green are usually there for a reason: they mark sectors, warning of a hazard or guiding a vessel through a channel. Walk along the shore and you may see a light change colour as your bearing shifts — that is you crossing a sector boundary, and it is one of the small thrills of coastal spotting.
Do not ignore the other signals. Many stations carry a fog signal, and some have a radar beacon that will show up on a vessel's equipment but never to your eye. A chart, an OS map or a light list for the area will tell you what a given station does, and these are worth checking before you travel.
Kit worth carrying
Keep it light. A small rucksack is plenty for an evening's spotting.
- A notebook and pencil — phone batteries die quickly in the cold
- Binoculars, ideally waterproof, around 8x42 or 10x42
- A red-filtered torch, to protect your night vision
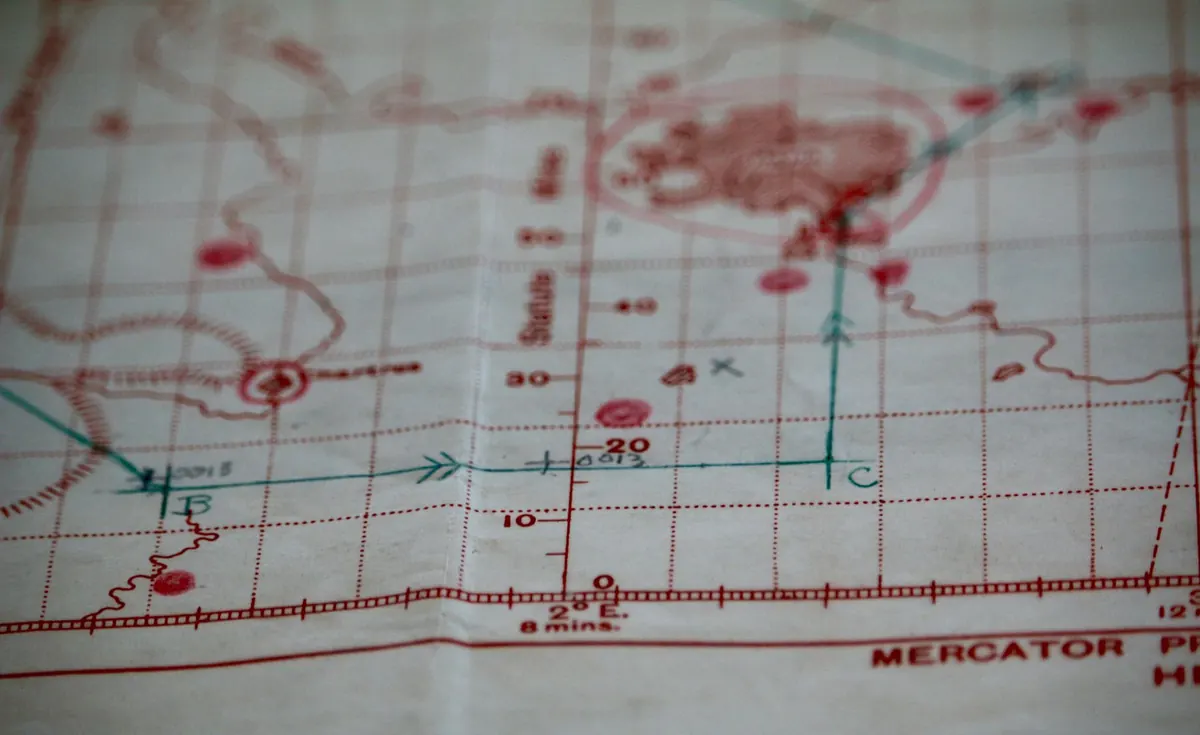
- A map or chart of the stretch you are watching, so you can name what you see
- A tide table and a look at the forecast
- Warm layers, a flask and something dry to sit on
- A camera and tripod if you fancy long exposures
Easy starting points
Beginners do best where a light is simple to reach and hard to confuse. Headlands with a car park and a short walk, promenades, and harbour walls are all ideal. Estuaries and working harbours often have several lights within sight of each other, which gives you plenty to compare in one sitting.
Heritage lights with visitor centres are another good first stop. Seeing an optic up close, and talking to the people who look after it, will teach you more in an afternoon than a month of guessing. If you can find a station with a high light and a low light used together as leading lights, even better: the pair is a ready-made lesson in how position and alignment do the work.
The single most useful habit is to visit one local light twice. Go in daylight to study the daymark, then return at dusk and watch it come on. That is how a character fixes itself in your memory.
Etiquette and staying safe
Much of our coast is private land, farmland or a nature reserve, sometimes with nesting birds. Check access, keep to paths, shut gates behind you and park where you are not blocking a lane or a slipway.
Stay well back from cliff edges, particularly in wind or on wet grass, and do not scramble onto wet rocks below a light. Never shine a torch or laser at a lantern or at other people, and remember that some stations still have people living nearby. If you are heading somewhere remote after dark, tell someone where you are going and when you expect to be back.
Your first outing, step by step
Pick a light within an hour of home. Check the sunset time and the forecast, and aim to arrive about an hour before dark. Walk the site, note the daymark, and work out where the beam will appear. Then wait.
When the light comes on, time three full cycles with your stopwatch, write down the character and the colour, and add a line about the weather and the sea state. Stay for another ten minutes just to watch. Then go home, make a brew and look up the official character to see how close you got.
Do that a few times with different lights and you will start to notice the differences without effort. That is the point at which a pleasant evening walk quietly becomes a hobby.
Photo: Simon Hurry / Pexels